

Quick Facts
- An ergonomic workstation setup supports neutral posture.
- Chair adjustments are the foundation of comfort.
- Proper monitor height helps reduce neck and eye strain.
- Keyboard and mouse placement should keep wrists straight.
- Movement breaks are essential for reducing stiffness.
What’s In This Guide
- What Is an Ergonomic Workstation Setup? (And Why It Works)
- Step-by-Step Ergonomic Workstation Setup (Office Checklist)
- Ergonomic Workstation Setup Checklist (Quick Reference)
- Common Ergonomic Setup Mistakes Offices Make
- Choosing the Right Equipment for an Ergonomic Desk Setup
- Before vs. After: What an Ergonomic Desk Setup Looks Like
- Frequently Asked Questions
- Create a Healthier Office Setup Today
Work today happens largely at a desk, yet many workstations are set up without much thought to how the body actually moves and functions. Over time, small habits like slouching, reaching, or looking down at a screen can lead to noticeable discomfort and reduced focus.
What feels minor in the moment often builds into long-term strain.
An ergonomic workstation setup focuses on aligning the workspace with the user, supporting better posture, comfort, and efficiency throughout the day.
Here are the steps to set up a more supportive and productive office workstation.
What Is an Ergonomic Workstation Setup? (And Why It Works)
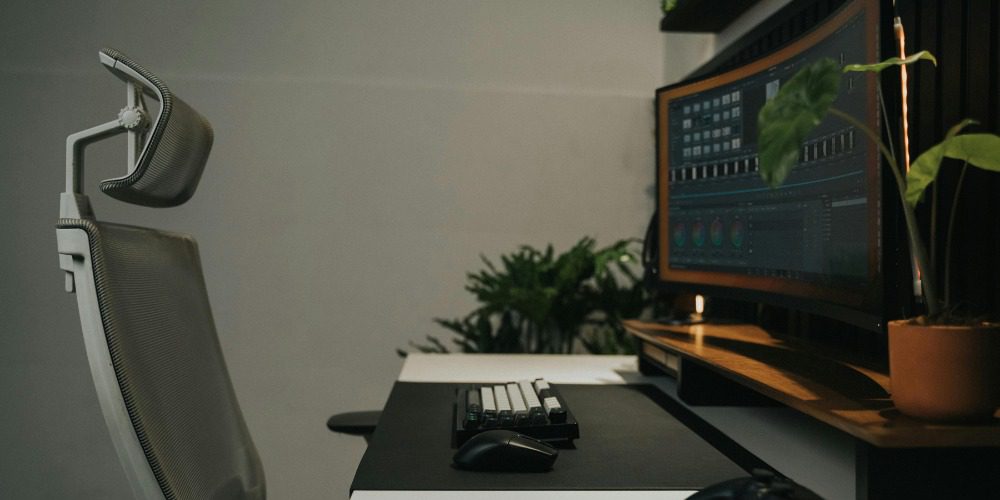
An ergonomic workstation setup is the deliberate arrangement of furniture, tools, and equipment to fit the user’s body. Instead of adapting to the desk, the desk adapts to the user.
At the core is neutral posture. This means:
- The spine maintains its natural curve
- Shoulders remain relaxed
- Wrists stay straight
- Eyes align comfortably with the screen
This alignment reduces stress on muscles and joints, which lowers the risk of repetitive strain injuries. Over time, it also improves concentration. Employees are not distracted by discomfort, which allows them to focus on meaningful work.
Beyond individual benefits, ergonomics plays a role in organizational performance. Fewer injuries lead to fewer absences. Better comfort leads to higher output. For office managers and business owners, this is not just a wellness initiative. It is a practical investment in efficiency.
Step-by-Step Ergonomic Workstation Setup (Office Checklist)
Creating an ergonomic workstation setup is a structured process. Each adjustment builds on the previous one.
Step 1 – Adjust Your Chair (The Foundation of Ergonomics)
The chair is the foundation of your ergonomic workstation setup, and every other element depends on getting this right.
- Seat Height: Adjust the chair so your feet rest flat on the floor, with knees at about a 90-degree angle and thighs parallel to the ground. This supports proper circulation and reduces pressure on the lower back.
- Lumbar Support: Position the backrest so the lumbar support fits into the natural inward curve of your lower back. This helps maintain spinal alignment and prevents slouching.
- Backrest Angle: Recline the backrest slightly between 100 and 110 degrees to reduce pressure on the spine while still keeping you supported.
- Seat Depth: Leave a small gap between the front edge of the seat and the back of your knees to avoid restricting blood flow.
- Armrests: Set armrests so your elbows rest at about 90 degrees and your shoulders remain relaxed, not lifted or tense.
Step 2 – Set Proper Monitor Height Ergonomics
Monitor placement directly affects neck position, eye comfort, and overall posture.
- Screen Height: Position the top of the monitor at or slightly below eye level to allow a natural downward gaze and reduce neck strain.
- Viewing Distance: Keep the monitor about an arm’s length away so you can read comfortably without leaning forward.
- Screen Tilt: Tilt the monitor slightly backward to align with your natural line of sight and reduce glare.
- Glare Reduction: Place the monitor perpendicular to windows or bright light sources to avoid reflections and eye strain.
- Special Adjustments: Lower the monitor slightly if you wear bifocals to avoid tilting your head upward.
Step 3 – Optimize Keyboard and Mouse Placement
Proper placement keeps your arms, wrists, and shoulders in a neutral and supported position.
- Height Alignment: Place the keyboard and mouse at or just below elbow height to keep forearms parallel to the floor.
- Wrist Position: Keep wrists straight and neutral while typing, avoiding any upward or sideways bending.
- Keyboard Angle: Keep the keyboard flat instead of tilted upward to prevent unnecessary wrist extension.
- Mouse Placement: Position the mouse directly beside the keyboard to minimize reaching and reduce shoulder strain.
- Laptop Setup: Use an external keyboard and mouse when working on a laptop, and elevate the screen to eye level.
Step 4 – Improve Desk Posture Setup and Workspace Layout
How your body interacts with the workspace throughout the day plays a major role in long-term comfort.
- Seated Posture: Sit upright with a slight recline, allowing the chair to support your back while keeping your head aligned over your shoulders.
- Shoulder Position: Keep shoulders relaxed and avoid hunching or rounding forward during work.
- Reach Zone: Keep frequently used items like phones, notebooks, and tools within easy reach to avoid repetitive stretching.
- Document Positioning: Use a document holder at eye level to minimize head movement and maintain alignment.
- Body Alignment: Keep your head, neck, and spine aligned to reduce strain during long periods of sitting.
Step 5 – Optimize Your Work Environment
The physical environment around your desk can either support or disrupt your ergonomic setup.
- Leg Clearance: Ensure there is enough open space under the desk for your legs to move freely and shift positions comfortably.
- Clutter Reduction: Remove items such as boxes or equipment that restrict movement or force awkward postures.
- Ambient Lighting: Use soft, even lighting to reduce eye strain and avoid harsh shadows.
- Task Lighting: Add focused lighting for reading or detailed work to prevent leaning or squinting.
- Glare Control: Adjust screen placement or use blinds to minimize reflections that can cause eye and neck strain.
Step 6 – Add Movement Into Your Workday
Movement is essential to maintaining comfort and preventing stiffness, even with a well-designed setup.
- Eye Breaks: Follow the 20-20-20 rule by looking at something 20 feet away for 20 seconds every 20 minutes.
- Position Changes: Shift between sitting and standing if possible to keep the body active and reduce fatigue.
- Stretching: Incorporate light stretches throughout the day to relieve tight muscles and improve circulation.
- Posture Variation: Change your seated position slightly throughout the day to avoid holding one posture for too long.
Ergonomic Workstation Setup Checklist (Quick Reference)
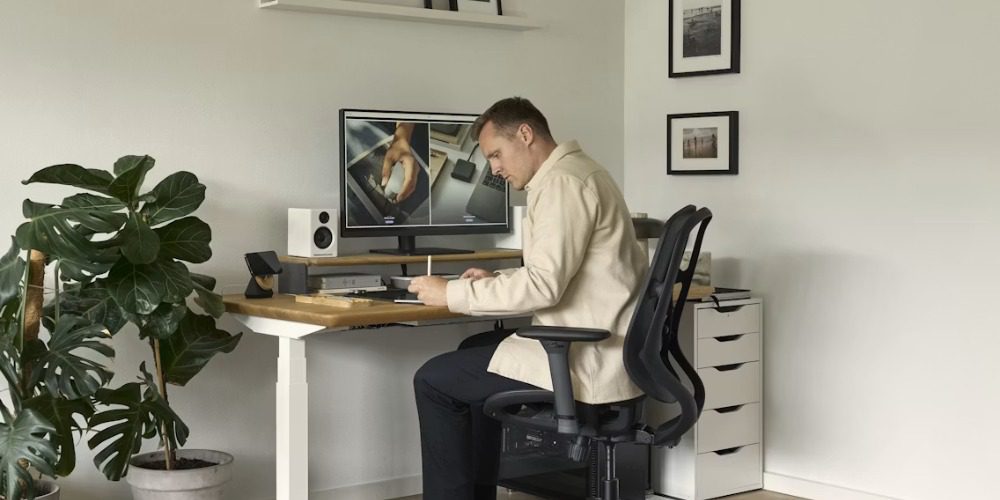
A quick checklist helps reinforce proper adjustments:
- Chair height supports feet flat on the floor
- Knees and elbows at approximately 90 degrees
- Monitor positioned at eye level
- Screen placed at arm’s length
- Wrists remain straight during typing
- Mouse positioned close to the keyboard
- Workspace free of unnecessary clutter
- Lighting adjusted to reduce glare
- Breaks scheduled throughout the day
This checklist works as both a setup guide and a regular audit tool for offices.
Common Ergonomic Setup Mistakes Offices Make
Even well-intentioned offices often overlook key details.
Ignoring Chair Adjustments
Many employees use chairs as-is, even when the seat height, lumbar support, and armrests do not fit their body. This can throw off posture from the start and make the rest of the workstation harder to align.
Relying Only on “Ergonomic” Products
Ergonomic products are useful, but they are not automatic fixes. A quality chair or desk can still cause discomfort if the user sits too low, reaches too far, or works with poor screen placement.
Poor Monitor Height Ergonomics
When a monitor sits too low, users often lean forward or tilt their head down for long periods. This can strain the neck, shoulders, and upper back, especially during full workdays.
Static Posture All Day
Even a strong desk posture setup becomes uncomfortable when held for hours. Employees still need short breaks, standing intervals, and small posture changes to reduce stiffness and fatigue.
One-Size-Fits-All Workstations
A single setup will not work for every employee because height, reach, and work style vary. Adjustable chairs, monitor arms, and footrests help each person create a more supportive ergonomic desk setup.
Choosing the Right Equipment for an Ergonomic Desk Setup
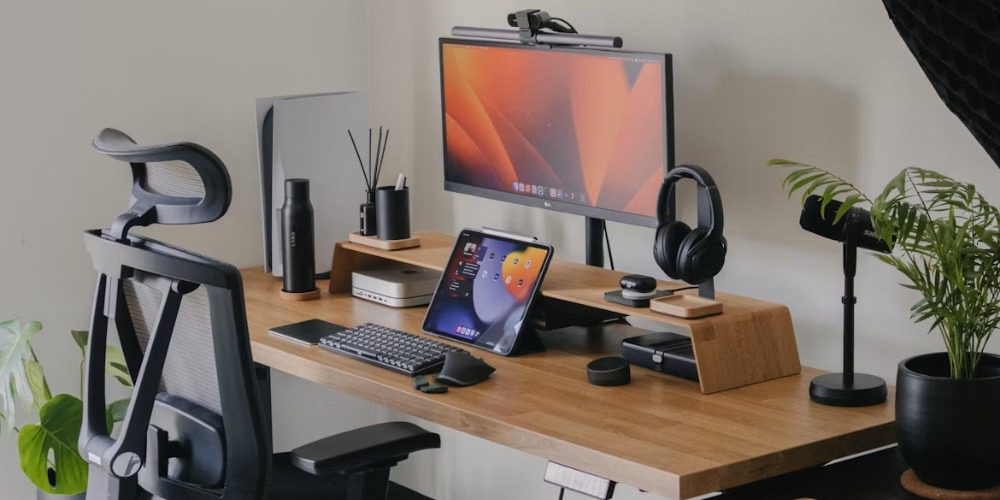
The right tools support proper positioning and make adjustments easier.
Ergonomic Chairs
Look for chairs with adjustable height, lumbar support, and armrests. These features allow users to fine-tune their seating position.
Height-Adjustable Desks
Sit-stand desks encourage movement and flexibility. Stability and ease of adjustment are important considerations.
Monitor Arms and Laptop Stands
These tools allow precise control over screen height and distance. They are especially useful in shared workspaces.
Accessories
Footrests provide support for shorter users. Wrist rests can help when used correctly, though they should not encourage pressure on the wrists. Anti-glare screens improve visibility in bright environments.
Before vs. After: What an Ergonomic Desk Setup Looks Like
Visualizing the difference between a poor and optimized workspace makes the impact of ergonomics clear.
Common “Before” Setup Issues
Many offices operate with setups that look functional but create strain:
- Monitors positioned too low, forcing the neck downward
- Keyboards angled upward, bending wrists unnaturally
- Feet not fully supported, causing pressure on thighs
- Limited legroom due to clutter
- Mouse placed too far away, leading to shoulder strain
Optimized “After” Ergonomic Workstation
An improved ergonomic desk setup feels natural almost immediately:
- The monitor sits at eye level, reducing neck strain
- Wrists remain straight while typing
- Feet rest flat on the floor or a footrest
- The workspace allows movement and repositioning
- Frequently used items stay within easy reach
Frequently Asked Questions
How should my arms be positioned while typing?
Your elbows should stay close to your body at about a 90-degree angle, with your forearms parallel to the floor. This position helps keep your shoulders relaxed and reduces strain on the wrists, arms, and upper back.
Do I need a sit-stand desk for an ergonomic setup?
Not necessarily. While sit-stand desks add flexibility, you can still achieve a proper ergonomic workstation setup with a standard desk by focusing on correct positioning and regular movement.
Do ergonomic chairs really make a difference?
Yes, when adjusted properly. They support the spine and promote better posture, reducing strain over time.
How often should I take breaks from sitting?
Short breaks every 30 to 60 minutes help reduce fatigue and improve circulation.
Can I create an ergonomic setup without expensive equipment?
Yes. Simple adjustments, such as raising your screen or repositioning your keyboard, can significantly improve comfort.
Create a Healthier Office Setup Today
A well-designed ergonomic workstation setup supports both performance and well-being. Small adjustments create meaningful changes, especially when applied consistently across an office.
For organizations ready to elevate their workspace, Stamford Office Furniture provides thoughtfully designed solutions that align comfort with productivity.
Contact Stamford Office Furniture to create a workspace that supports comfort, productivity, and long-term health.